It's probably not 100% accurate, but I think there's a relationship between the economy and the type of commissions I receive at my woodshop. In boom times - the type of orders being placed are for brand new pieces - kitchen tables, desks, beds, whatever.
In less predictable economic times, the cycle of work that arrives on my doorstep includes repairs, retrofits, and upcycling. Lately, I've been seeing all sorts of repairs coming in, and to tell you the truth, they're a nice break from what I normally do.

This sofa table came in the shop the other day; it wasn't particularly outstanding, but the owners liked it and it fit well in their home. They wanted it retrofitted into a small desk, by removing the shelf below, and a adding a drawer into the front apron. They even brought in visual aid for me!

I love it when people come in with a plan. Removing the shelf was first, and my first thought was to remove these plugs, with the hope of exposing the mortise and tenon joinery. Instead, I realized these were dummies (and so was I!) just covering up giant screws.

Had I known that, I wouldn't have had to dig out this plug! Sometimes, the best plan of attack is BFI. That's Brute Force and Ignorance.

It's easy to overthink things, when all the situation really needs is a hammer and someone swinging it. A couple of swift whacks with a hammer released the shelf.

I ground down the screws,

and cut some of the beaded trim from the shelf front to cover up the lower stretchers.

I swear, when it was done, it looked like that shelf had never been there!

Part One - Mission Accomplished!

On to Part Two - cutting the top apron and adding a drawer. I wanted to use the piece of wood that I cut out for the drawer front, so I decided to hand cut the apron with a thin kerf Japanese saw. I added a few guides to help me saw straight.

It's so easy for that saw to wander!


When I got close to the bottom of the apron, a little duct tape protected the underside of the table top. Is there anything that duct tape doesn't do?

The top was screwed into the aprons - which is completely the wrong way to attach a tabletop, but hell... if it's worked for this long, why not join that party? I used a doweling jig to drill some centered holes,

and reattached the top to the base.

It's sort of hard to see, but Stella was with me in the shop when I was working on this table, and she just sat at the front door, watching the neighborhood. She tends to get pretty bored when she's at the shop, but I like the company!

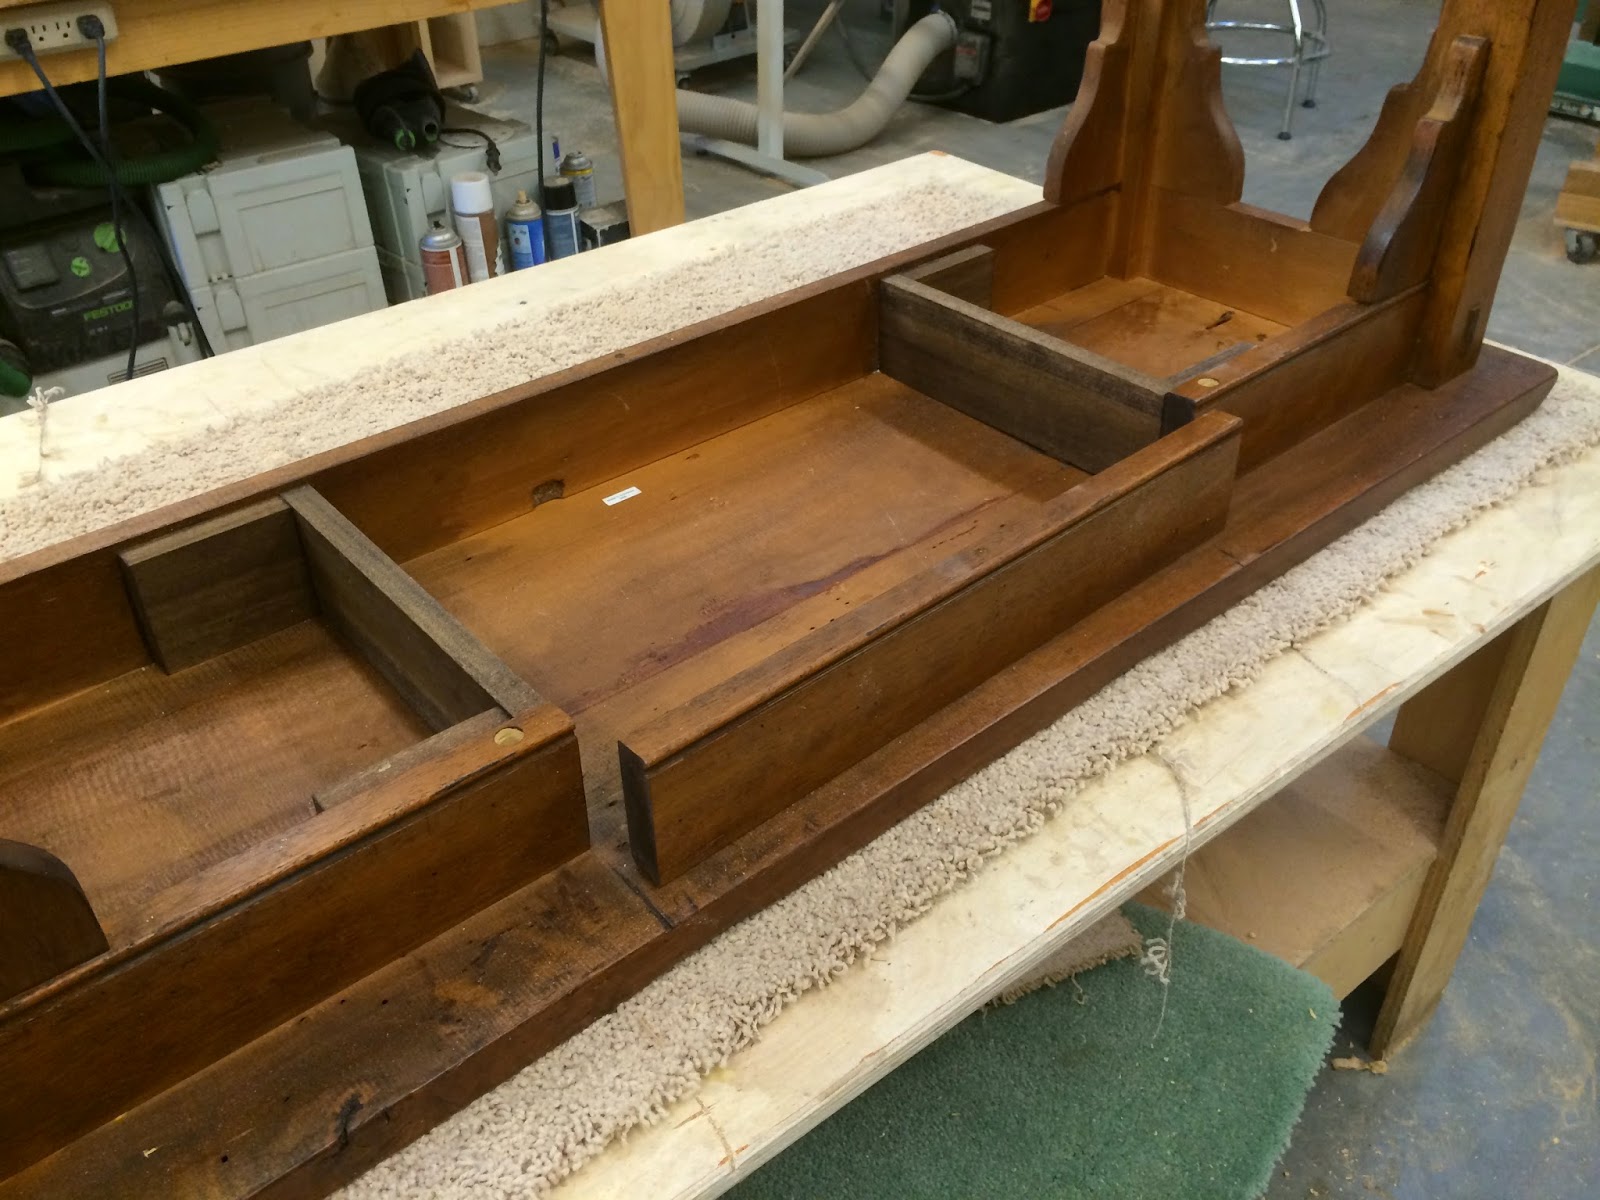
With the apron cut away, I added some side bracing on which to mount the drawer slide.

The drawer front needed a little cleaning up, with its hand sawn edges looking a little ratty. Once I straightened up the cut, and put it back into place - it looked perfect!
Building a drawer was probably the easiest part of all of this - I swear, I've built so many drawers in my lifetime, I could do one with one hand tied behind my back, and both eyes closed. I prefer to leave drawer boxes unstained; they just look cleaner, and there is no risk of smell or contamination to the contents of the drawer,

but when I attached the drawer face to the box and slid it into place, it looked out of place.

Thats' one thing you don't want with furniture repair - for the repair to stick out like a sore thumb. So I broke my own rule and stained it. And you know what - it looked perfect!

When finished, it was hard to tell that this drawer hadn't always been there! I suppose that's a good test of whether the retrofit was a success or not.

As far as my theory about economic indicators goes - the next four or five projects I'm working on all deal with building new pieces, so it sort of blows my theory out of the water.

So much for me being an economist; I'll stick to woodworking!
No comments:
Post a Comment